How to Plumb a Washing Machine (Step-by-Step Guide)
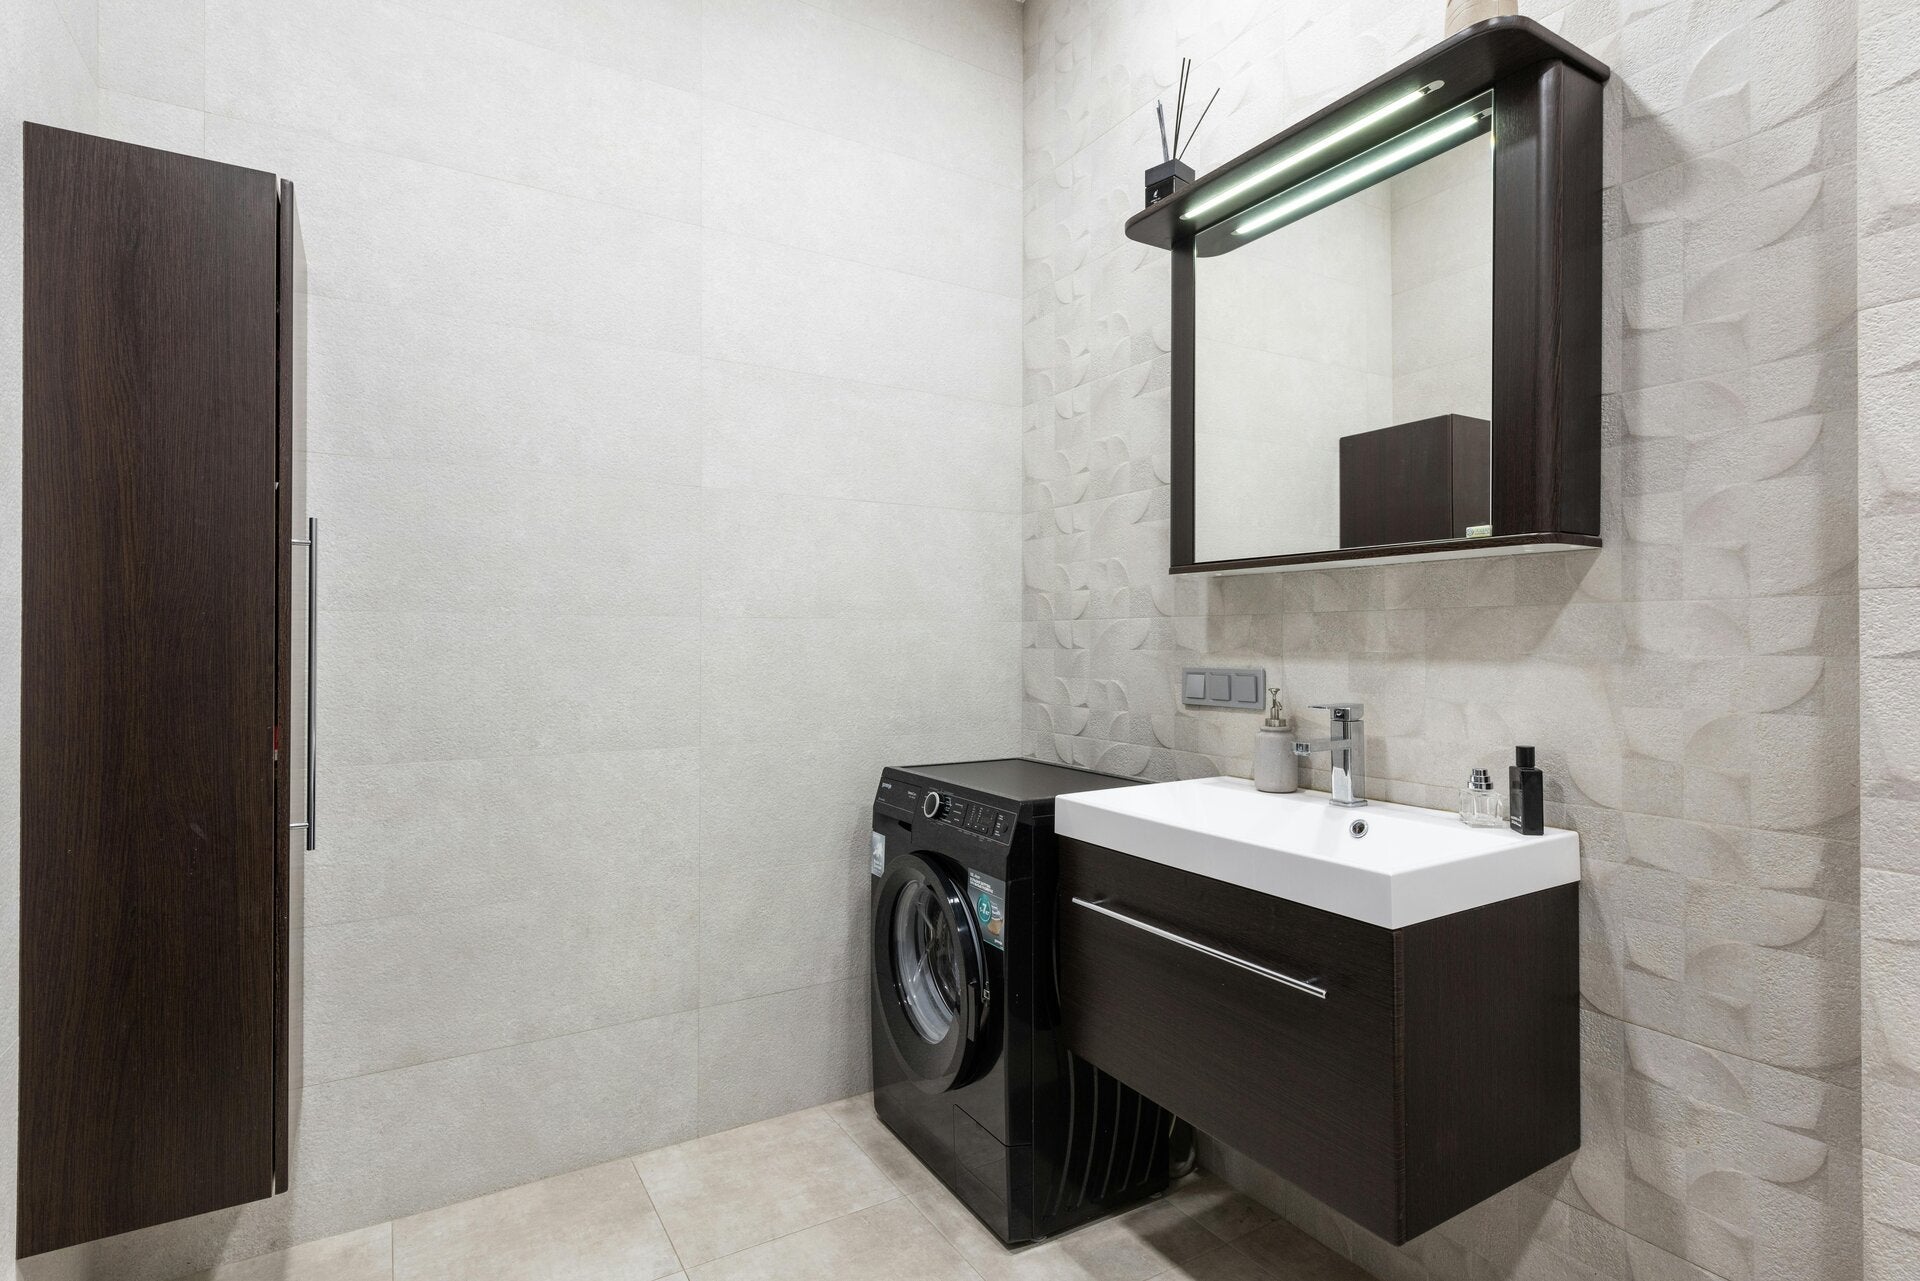
Installing a new washing machine might seem like a big job, but with a bit of guidance, it’s actually quite simple.
Whether you’re replacing an old machine or fitting one in a new space, here’s how to plumb it in safely and correctly.
At DM Emergency Plumbing, we’ve installed and repaired countless washing machines across Northampton, so here’s our professional advice to get you started.
🧰 What You’ll Need:
Before you begin, make sure you have:
-
Adjustable wrench or pliers
-
Bucket or towel (for any water drips)
-
Cold water supply valve (and hot, if your machine uses both)
-
Waste hose connection or standpipe
-
Your new washing machine!
Step 1: Turn Off the Water Supply
Always start by turning off your main water supply or the local isolating valve for the washing machine connection.
If you’re replacing an old machine, disconnect the hoses and place a towel underneath to catch any leftover water.
Step 2: Connect the Water Inlet Hose
Most modern washing machines only need a cold water supply.
-
Attach the inlet hose (usually blue) to the cold water tap.
-
Tighten it by hand, then gently use pliers to secure but don’t over-tighten!
-
If you have a hot water connection, attach the red hose to the hot water tap in the same way.
💡 Pro Tip: Always check the rubber washers inside the hoses to prevent leaks.
Step 3: Connect the Waste Water Hose
Your washing machine’s waste hose needs to drain into a waste pipe or standpipe.
Two common setups:
-
Standpipe: Insert the hose securely, ensuring it forms a high loop to prevent backflow.
-
Sink waste connection: Use the spigot under the sink trap just remove the plastic cap before connecting.
Make sure the hose is firmly in place but not kinked or squashed.
Step 4: Level the Machine
An unlevel washing machine can cause vibration, noise, and leaks.
Adjust the feet of the machine until it sits flat and stable on the floor.
You can check with a spirit level if you have one.
Step 5: Test for Leaks
Once everything is connected:
-
Turn the water supply back on.
-
Run a short wash cycle.
-
Check behind and under the machine for any drips or leaks.
If you notice any leaking, tighten the hose connections slightly and re-test.
🧑🔧 Need Professional Help?
If you’re not confident about connecting your washing machine or you run into problems like leaks, low water pressure, or blocked drains, we’re here to help.
📞 Call DM Emergency Plumbing your local Northampton experts.
We can safely install your washing machine, repair leaks, and make sure your plumbing system is working perfectly.
Available 24/7 for emergency and non-emergency plumbing jobs.
🔍 SEO Keywords:
plumb a washing machine, washing machine installation Northampton, connect washing machine drain, washing machine plumbing, emergency plumber Northampton, appliance plumbing Northampton
💡 Meta Description:
Learn how to plumb a washing machine step by step with tips from DM Emergency Plumbing Northampton. Safe installation advice and expert help when you need it.
Add comment
Comments